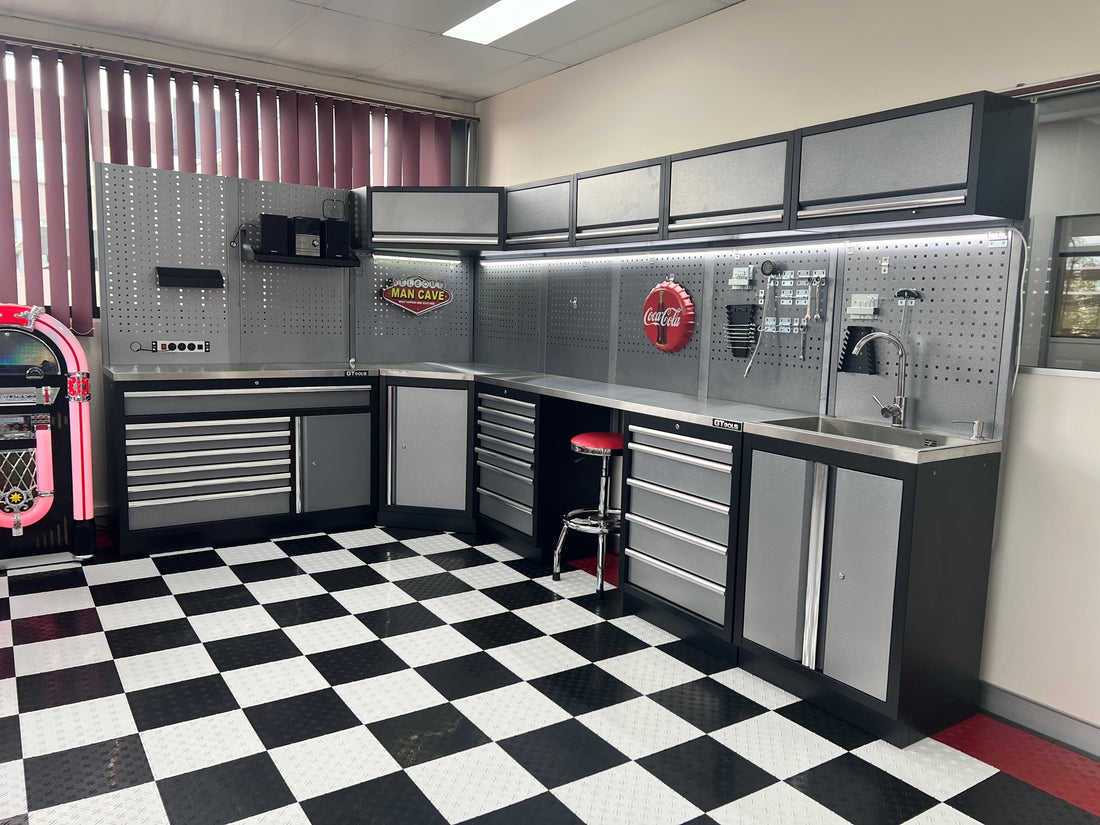
The corner piece in our standard modular range is a flat packed base unit with instructions included. The overhead cabinet part is not flat packed. This is a free-standing unit; it does not bolt to the wall but can bolt onto adjoining module units.
Some photos of our last assembly may help.
Recommended 2-person job, one to hold pieces in place and the other to screw them together.

Start with base, join corner footings by screwing them together.

Join the 3 base wall units, the wall units have metal sliders to connect to each other.

Stand up the wall units in correct position to view for next steps.

Insert bottom panel between corner footing and wall panels

It does fit together

Screw 3 parts (corner footing, bottom panel and corner wall panel) together, through the bottom holes.

There are large working holes to use when screwing the parts together

Mount corner benchtop by mounting to the top of cabinets from inside the cabinet, you need a light here to see the holes.

Install bottom of door by inserting the pin into the hole in the base.

Next do same for top pin in the door.
Base unit then should be complete.
Next is to mount the 4 vertical pillars to the base unit, do not tighten completely until you add the pegboards to these pillars.
The overhead cabinet then simply bolts from inside the cabinet onto the pegboards.

Get a drink, you earned it.